Using Alpha Cradle® Forms and the Alpha Cradle Mold Maker II Board
Robert F. Giffel, RTR
St. Joseph Hospital
Flint, Michigan
This set up is a compromise between the standard ALPHA CRADLE® brand Patient Repositioning System form and the use of the ALPHA CRADLE® Mold Maker Board. The following set-up is primarily used for breast patients. It involves building a base with sides and a head panel from Styrofoam® sheets. The Styrofoam sheets are delivered in the dimensions 24” wide x 96” long x 1” (½” may be available also) and then they are cut in half for the beginning of a workable base. The length and width of the base can then be modified depending on the area to be simulated/treated and the patient size. On the average the width used is 21½” with the remaining cut off. Trimming and/or adjusting the size and/or shape of the Styrofoam sheets can be accomplished by running a sharp object along a straight edge to some depth in the Styrofoam® and then tapping against a sharp edge to break off the excess. Then using a hot wire (if available; if not a saw blade can be used) bevel the edge of the Styrofoam® sheet base to be placed under the patient’s back. An approximate angle of 45° works well for the bevel. The base is then set for attachment of the side and head panels. These are cut from one of the stock Styrofoam® pieces. Length of the side panels should correspond to the base. The width of the panels is variable but a good overall usable size is 4¼”. The head panel length is cut to fit between the side panels after they are attached.
For attaching the panels to the base, 2” wide masking tape works well. Attachment is very important in that there must be a seal to prevent seepage of the foaming agents between and under the panels where it attached to the base.
First – place 3 vertical strips of tape from under the base to the outside of the side panels, one at the top, middle and bottom to stabilize them until the next step. Then place strips of tape along the inside of the side panel with half of the tape on the side panel and the other half on the base forming it into the crevice between the pieces. Repeat on the outside of the side panel. Use additional overlapping tape as needed.
Second – completing both side panels, match a Styrofoam piece to fit in between the side panels at the top for the head panel. Tape accordingly. Check tape for holes or breaks as the tape must seal in the foaming agents. Save any extra pieces of Styrofoam® from breakage or cutting to be used to fill in around the patient to displace foam as necessary. Assorted shape pieces from making of blocks in the mold room are useful also. When larger pieces are available, half-moon shaped ones can be made to place over the top of the head to displace foam and to use as a headrest for breast set-ups.
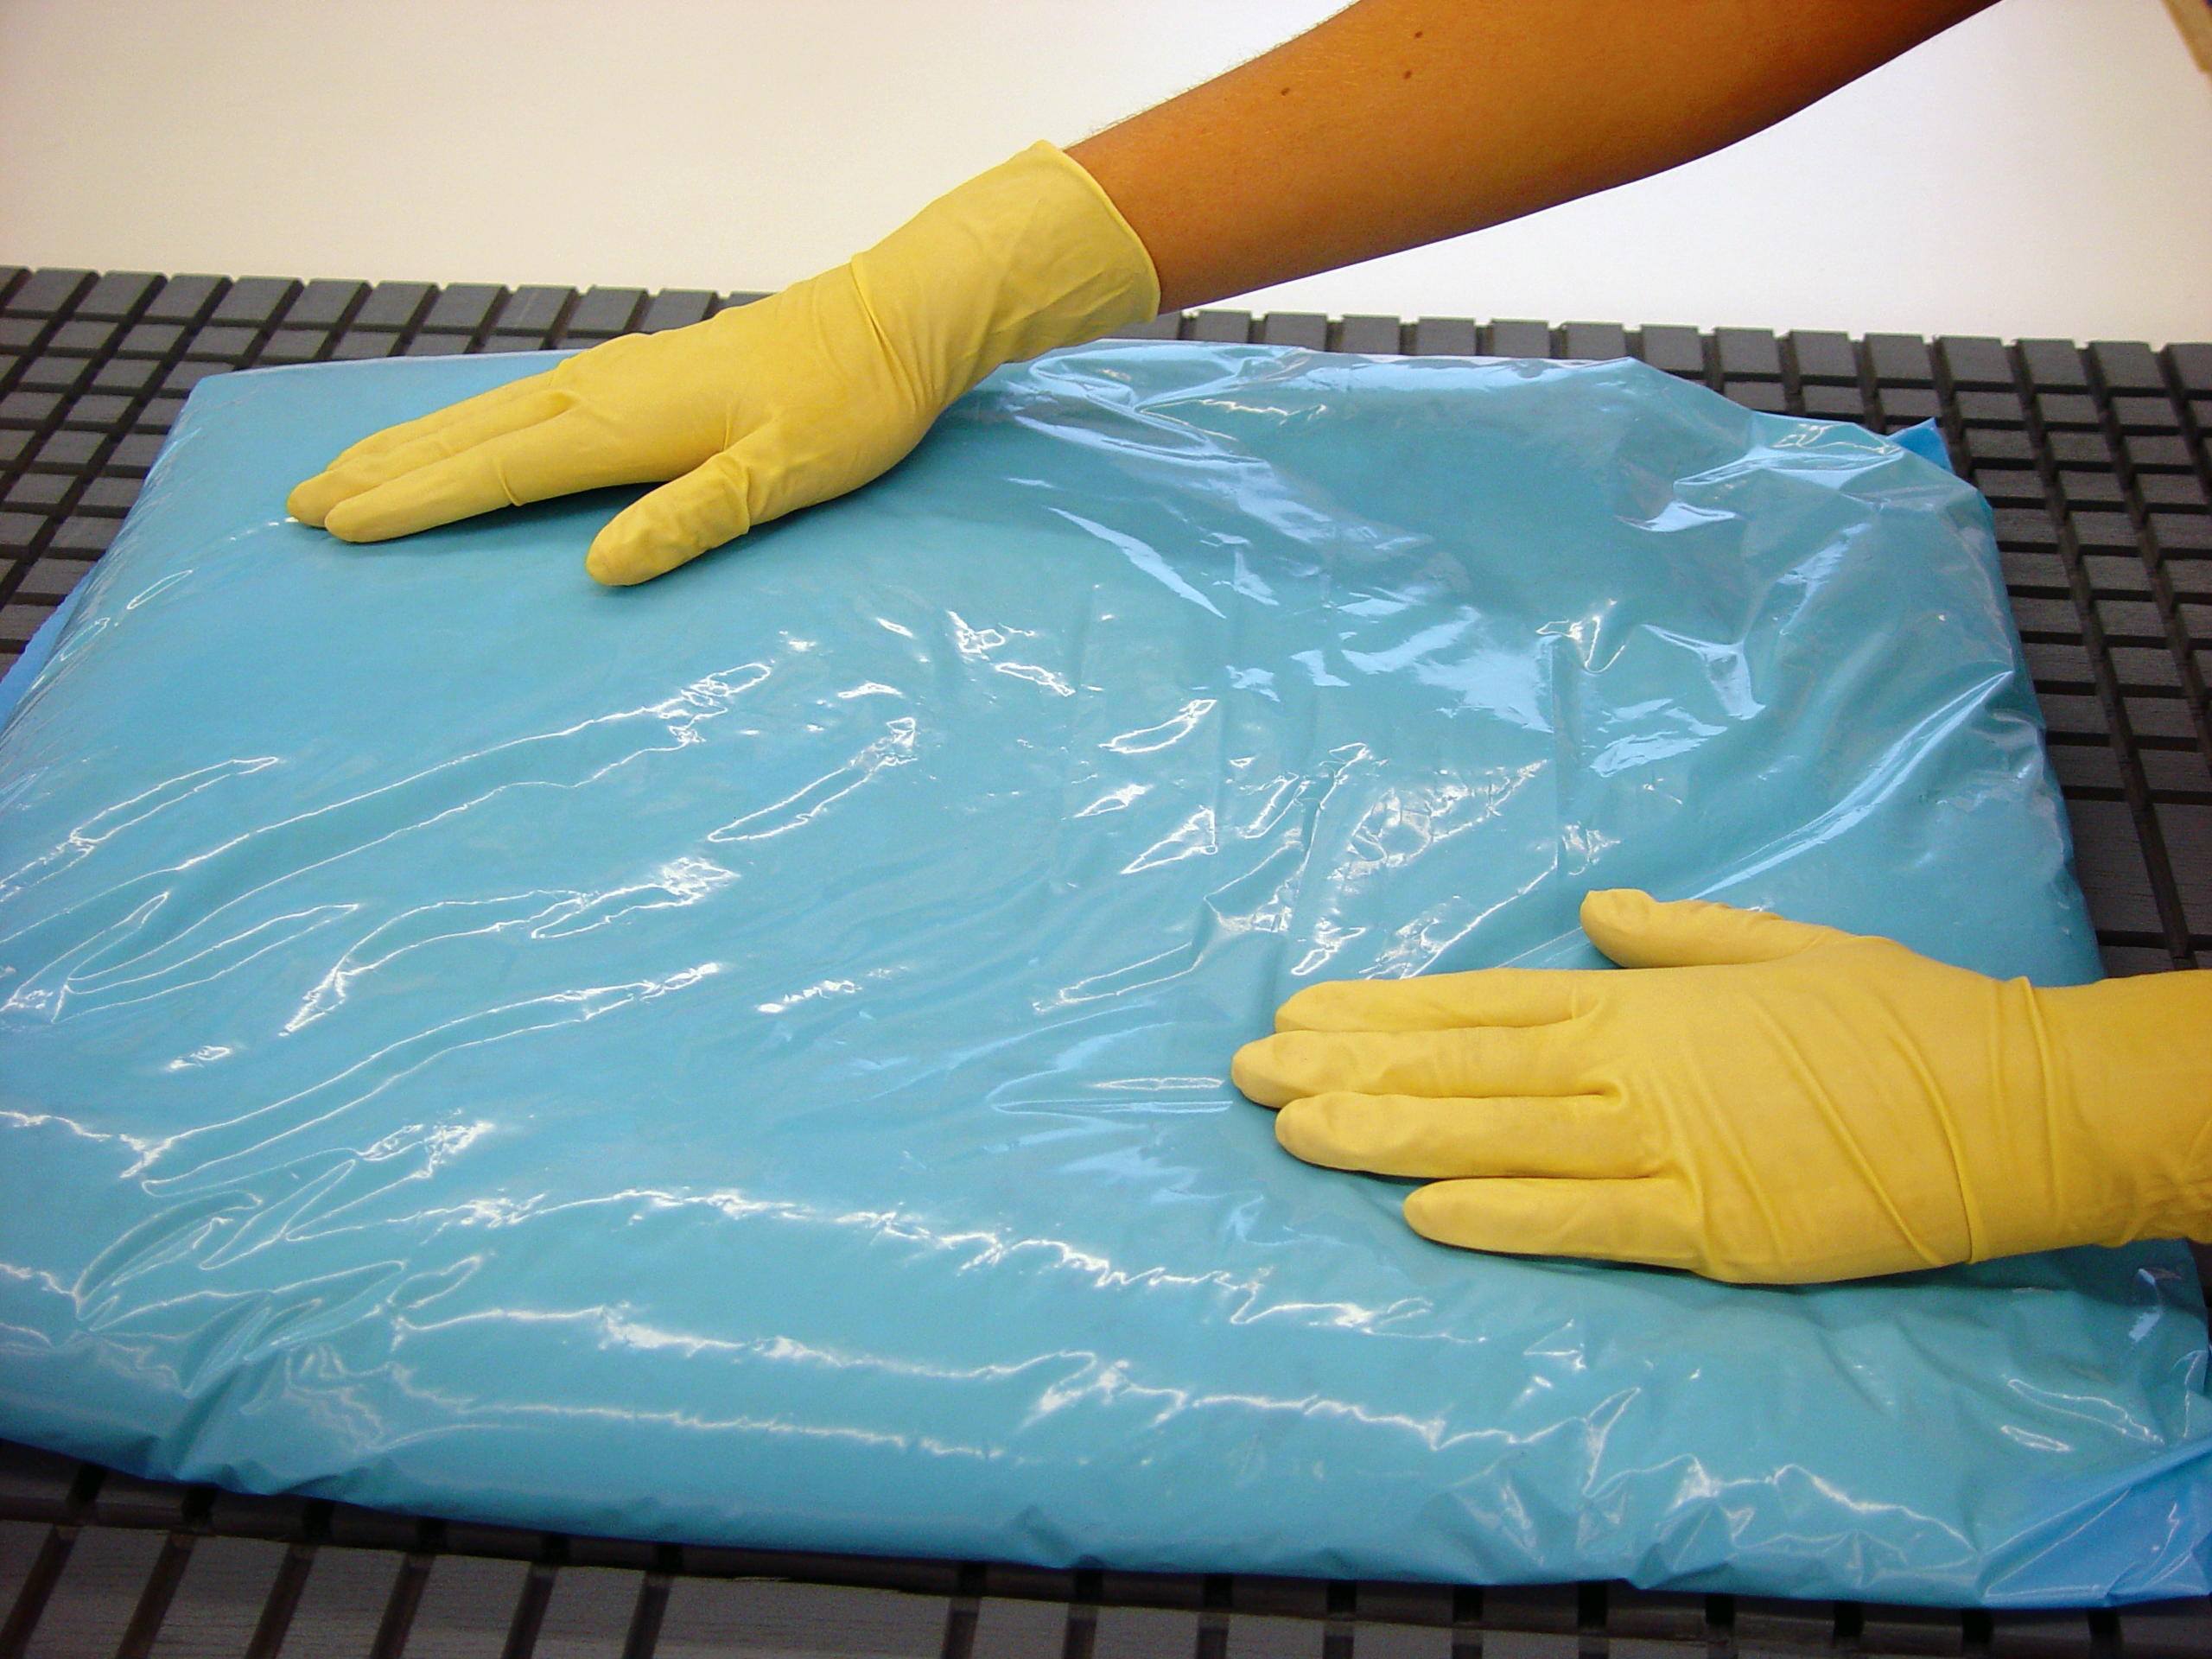
Third – open the ALPHA CRADLE® foam box and remove items. The poly-form bag should be cut along one side and across the top. Open it and place it over the base design just made. Fold the bottom of the opened bag under the base and then be sure the rest of the bag is opened and hangs evenly over the sides and head panel.
Now that preparation is complete, position the patient into the base design over the open bag and accessory protection sheet provided and place Styrofoam® pieces in areas where needed. Shake and mix the foaming agents according to instructions and then, lifting the bag up as needed, pour around the patient spreading liquid where needed, replacing bag as pouring occurs. Finished mold should support patient’s head, neck, arm, forearm and hand. Some cutting is generally needed to the hardened mold to allow for the field light to shine on the patient’s skin surface for the lateral treatment angle breast tangents).
This procedure will greatly enhance the use of the ALPHA CRADLE® form while providing greater immobilization for not only treatment of the involved breast, but in CT immobilization as well.
